Winter can be a beautiful season for photography with its crisp, clean and snowy landscapes. However, taking photos in cold weather presents a unique set of challenges that require some special considerations. Here are some tips to help you capture stunning winter photographs:
Protect yourself and your gear: It goes without saying that you are going to get cold setting up the perfect shot and waiting for the light to improve. Dress in layers and wear warm, waterproof/windproof clothing, gloves, and a hat. It's also essential to protect your camera gear from the cold and wet conditions. Use a waterproof camera bag or cover and keep spare batteries in your pocket to keep them warm. Bring a microfiber cloth to wipe off any snow or moisture from your camera and lens. Condensation can form on your lens when you move from cold to warm environments, so keep your camera and lens in your bag until they acclimate to the temperature. If the camera does start to fog, place a heat pack in the camera bag; this will prevent condensation and also keep any rotating/zoom elements from getting stiff.
Use the right camera settings: Shooting in snowy conditions can fool your camera's light meter and result in underexposed photos. To avoid this, use the exposure compensation function to add a stop or two of exposure, or use the manual mode to set the shutter speed, aperture, and ISO manually. Snow is usually bright enough to use a low ISO of 100 or 200 while still having a decently fast shutter speed. If shooting landscape, pick your f8 or f10 aperture and adjust shutter speed accordingly.
Shoot during the golden hour: The golden hour, which is the hour after sunrise and the hour before sunset, is the best time to capture the warm and soft light that complements the winter landscapes. The low angle of the sun during this time also creates long shadows and adds depth to your photos. The good news here in Alaska is that the golden hour lasts most of the day around the solstice, and even in early spring lasts much longer than in lower latitudes; this is because the sun sets at a much sharper angle than elsewhere rather than dropping suddenly behind the horizon. Alternatively, the blue hour, 30 minutes before sunrise and 30 minutes after sunset can be magical as well, more so on cloudless days. The flat light on cloudy days in general can be tough to manage unless that is the effect you are going for.
Use a polarizing filter: A polarizing filter can reduce glare and reflections on snow and ice, making your images appear sharper and more colorful. It will improve contrast and bring out more detail. A circular polarizer is standard kit for most folks who use DSLR cameras. A graduated filter can also be helpful but is only for very niche use. Don’t forget to rotate the filter with every use to get the desired effect; sometimes a little glare or reflection improves the shot!
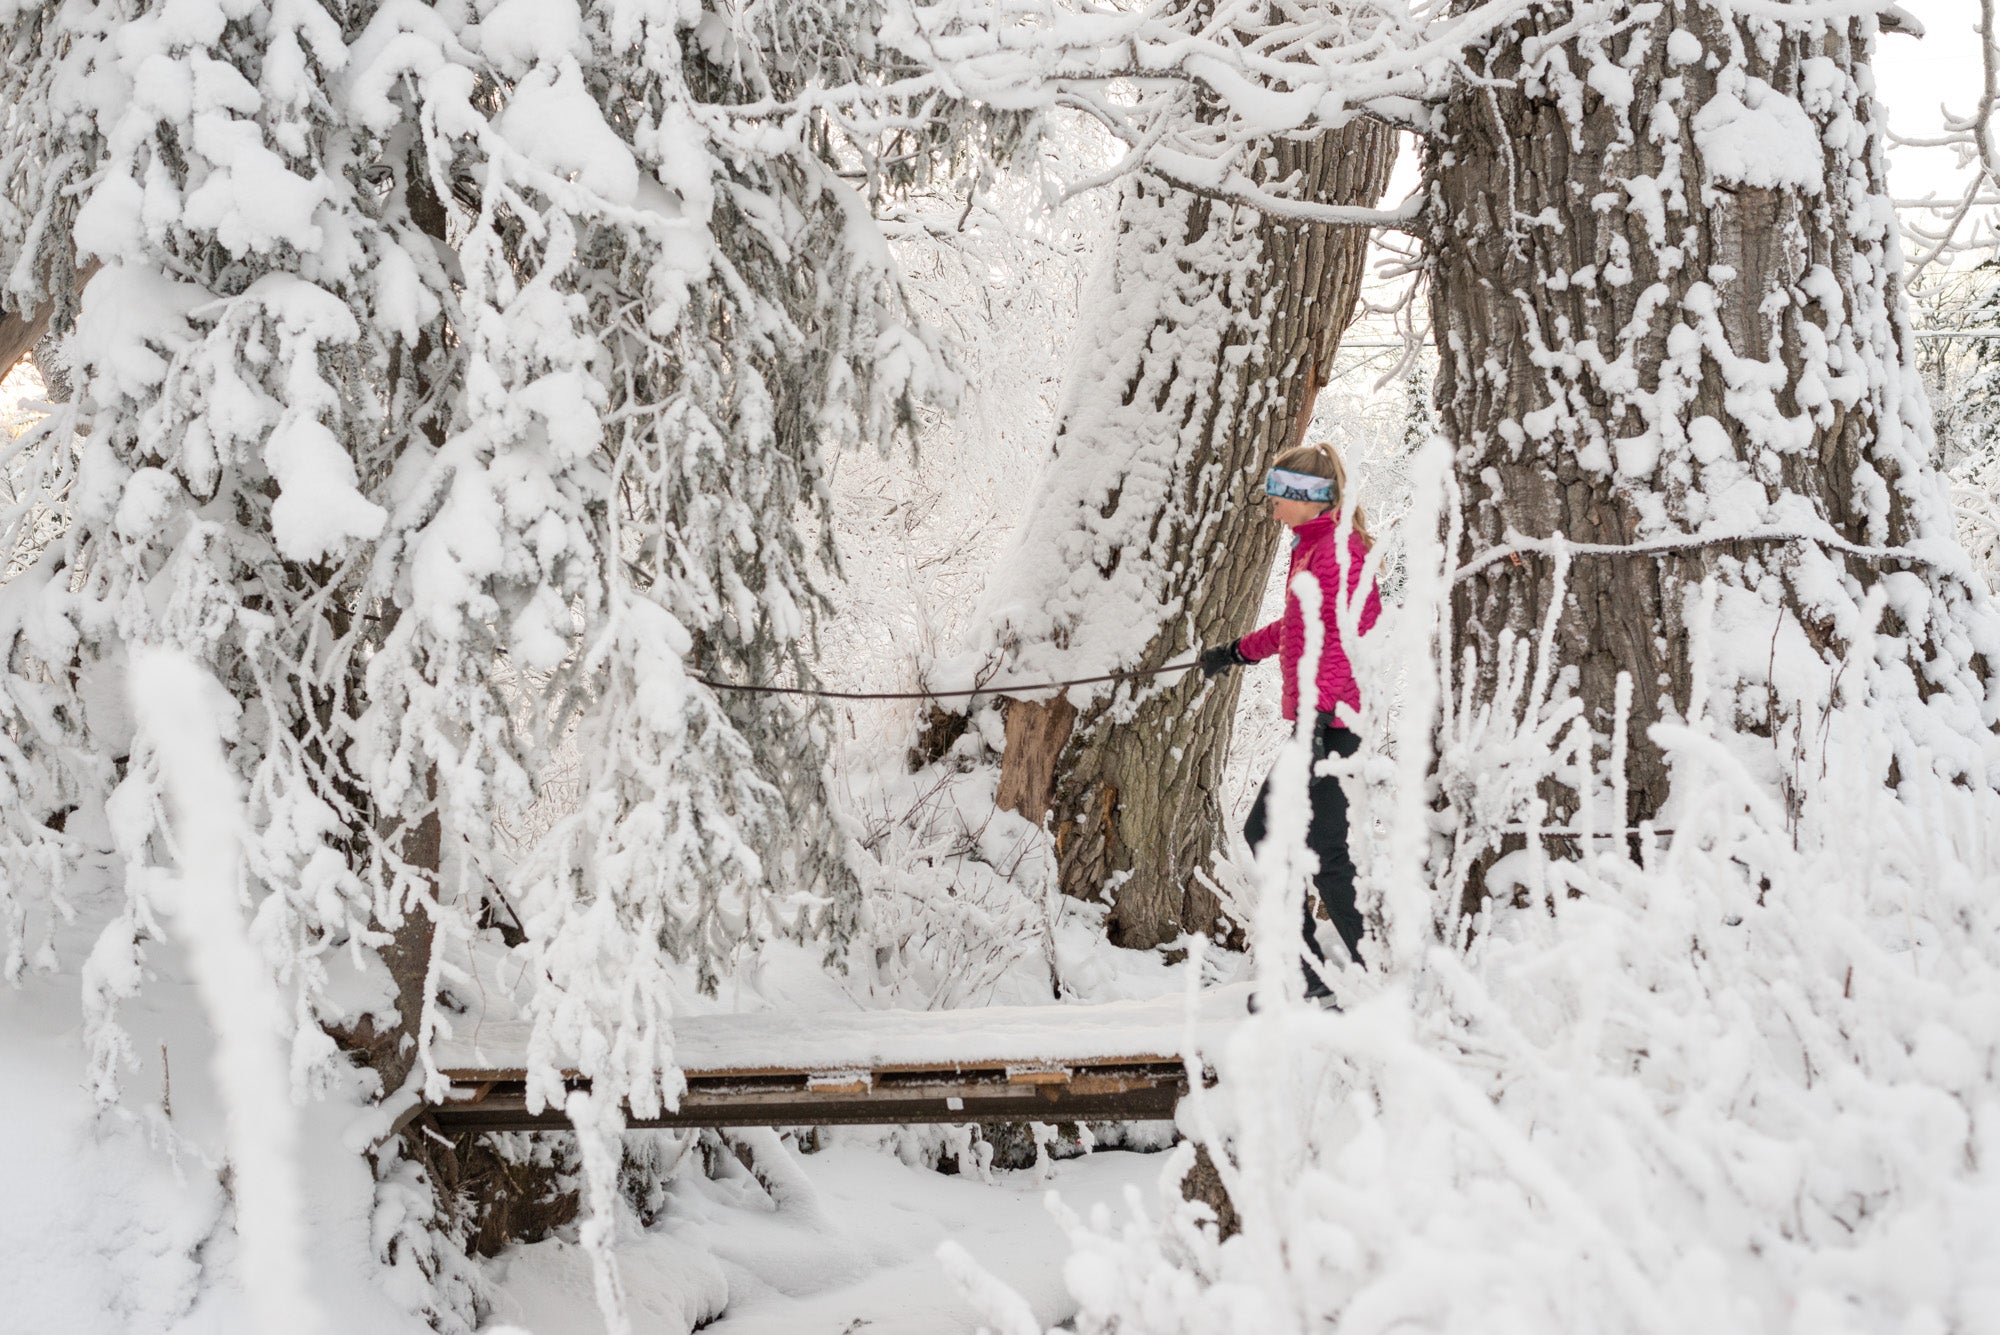
Look for contrast and depth: Snowy landscapes can look flat and featureless. To create depth and interest in your photos, look for contrasting elements like dark evergreens, people, rock formations, ski/skin tracks. A classic snowy landscape will be a snow-covered hillside with the sun over the hill and reflecting off the snow; but the scale is hard to fathom, so place a tree in the middle, or ski tracks descending 1000 ft and now we have perspective.
Embrace the winter elements: Don't be afraid to include snowflakes, icicles, and other winter elements in your photos. These details can add texture and mood to your images. Icicles in particular catch light in many interesting ways. Snowflakes add drama and can set a holiday mood (big fat snowflakes) or adventure (snowflakes blowing sideways) among others. If you have the opportunity, other interesting features to look out for are snow ghosts (trees covered entirely with snow usually at the top of the mountain), sastrugi (wind-blown snow formations), hoar frost, and of course animal tracks (rabbit, martin, fox, moose, deer, bear [in the spring]).
Edit your images: Once you've captured your snowy landscape photos, take the time to edit them to bring out the colors and details in the snow. You can use editing software to adjust the exposure, color balance, and sharpness of your images. You may find that color is the least important factor in these shots; I often experiment with desaturating all but a single color (red jacket, blue sky, etc.) to keep the focus on the scenery.
Remember to have fun and be safe when shooting winter photography. Follow these tips and experiment with different techniques to capture the beauty of the winter season.
For tips on general photography, see our recent post about Alaska Photography Tips
